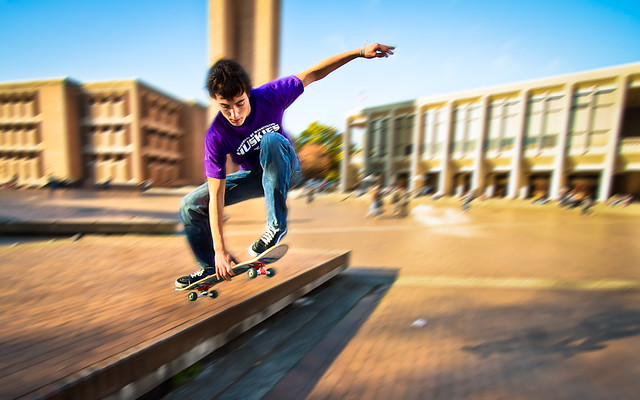
Photo by BékiPe
Pet photography is a lot of fun and many people are attracted to doing it, either just for fun or as a business. Pet photography is not necessarily a lucrative business, however. Although it sounds easy, it’s not. To be successful you need to create photos that are much better than people can create on their own. You do have one thing going for you, however. Even though many people have nice cameras, very few have good lights, and even fewer know how to use their equipment effectively under many conditions. So, if you do what they won’t or can’t do, you’ll get a name for yourself.Many professional portrait photographers avoid photographing pets because they present a big challenge, about the same as an infant or toddler. To get good at pet photography you need lots of practice because pet behavior varies widely by individual and type of animal. Try practicing on your friends’ pets by offering them a free sitting. Once you do the portrait sessions you can often get extra orders for prints if you have a nice printer.
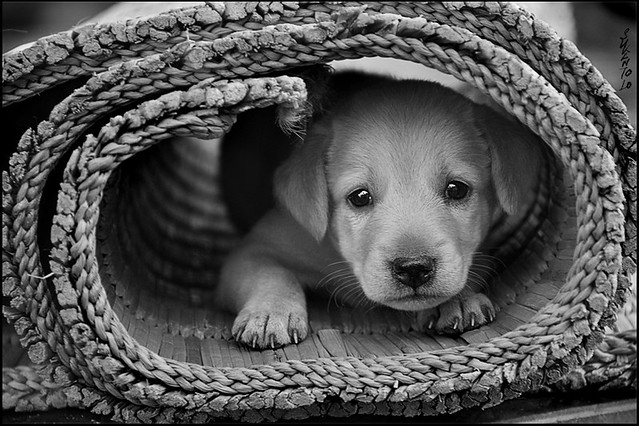
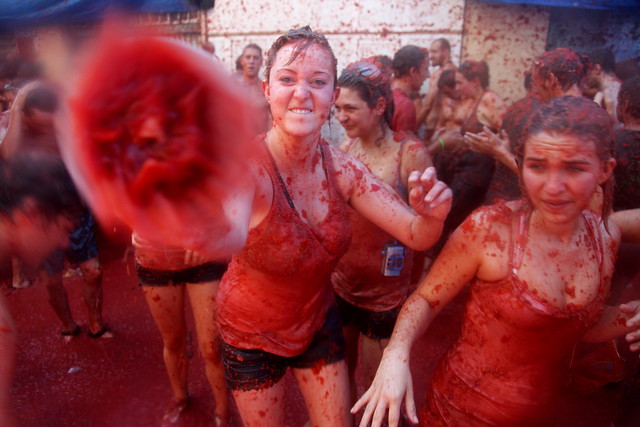
Photo by Sukanto Debnath
To get good pictures you will need some quality equipment, techniques, animal behavior knowledge, and loads of patience. It’s a good idea to have a trained assistant, too, especially for large dogs and horses. Get quality equipment, too, and make sure it’s durable.
Typical customers for pet photography are affluent people who love their dogs, people who breed or show dogs, etc. The best markets are big cities like New York, and the suburbs of those cities. When it comes to customers, it’s better to have a few customers that pay well than a bunch of penny-pinchers who want a lot for nothing, then complain when they don't get it. If you can do a large shoot and produce a lot of good quality pictures, you can earn a bunch of money from one event. Plus, customers tell their friends and you can get a lot of referrals. After the event, you’ll have lots of work to do sorting out photos and printing orders, so don’t try to do too many per month. It’s best to keep your customers happy. Pet photo shoots make great school, club, or church events.
Want to sell your photos and not have to do any printing? Use a service like www.Shutterfly.com . You can set your prices to whatever you want. Shutterfly takes a commission, but they do all the work, and they have the best equipment. Besides, they have a lot of other products, too, like calendars and notecards, even mugs.
Equipment
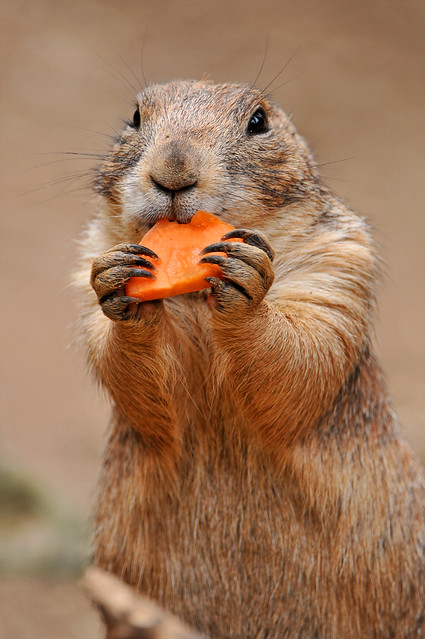
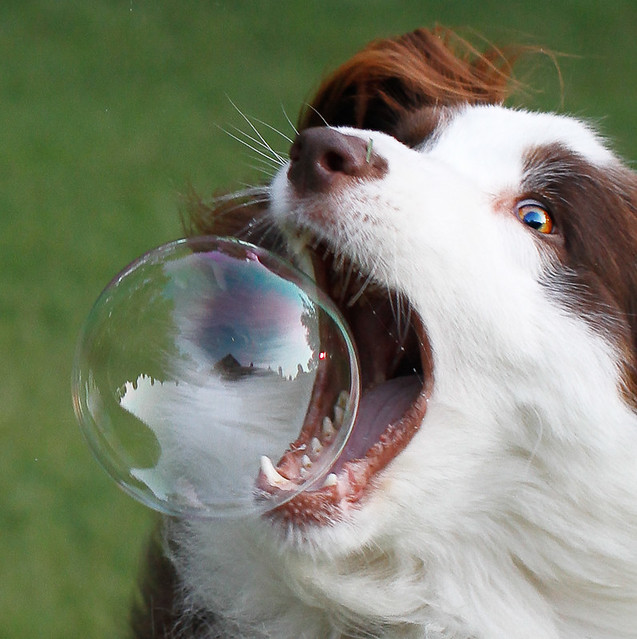
Photo by Tambako the Jaguar
Cameras
To get good photos of pets, you need to work fast because most pets are restless in a studio and likely to move suddenly, no matter how well they are trained. This means you need a fast camera. Many digital cameras have a slow response to pressing the shutter. If you want to use a digital camera, get one that is an SLR ( single lens reflex ), such as the Canon Rebel digital, or Nikon D70. You also need a fast memory chip, because some chips take a few seconds to save the image. In pet photography, a few seconds is a long time. You can use an ordinary SLR film camera, but the film costs can be high, especially while you practice. I use the Canon XT digital, a small and very effective digital SLR camera.
Learn to use your camera. An expensive camera does you no good if you haven’t learned how to use its many features. Some lighting and exposure techniques are beyond the scope of this report, so read your instruction manual and some books on basic photography.
What to look for in a camera. You need something fast, and by fast I mean not just the shutter response, but the autofocus should also be fast. Autofocus responses on many cameras are not fast enough to do some pets, so I frequently put the setting on manual and keep within the focus range while I’m shooting. You should get a digital camera, too. In the long run, digital will save a load of money on film. It will also let you show customers the results right away, plus check your work. Get a good lens, the best you can afford, and put a hood on it. If you don’t, you stand a good chance of getting light flares in your pictures. If you can afford it, buy a new camera with a warranty.
Digital image quality. Digital image quality is based on the number of tiny picture elements in the picture, and that depends on the quality of the sensor in the camera. The camera sensor is measured in “megapixels” While a 12 megapixel camera will deliver fine quality, publishable photos, 3 megapixles can produce a decent 8 by 10 if you don’t have to crop it much. Ideally you should have a 5 megapixel or better for enlargements. Many times you need to crop part of the photo out and use a smaller portion, so the higher resolution is much better. Very few customers order anything larger than an 8 by 10, and even in magazines most of the pictures are quite small. It’s always safe to shoot at the highest quality in your camera. Just don’t overdo it. The larger the image, the less photos fit on the chip, and it takes more time to process, etc.
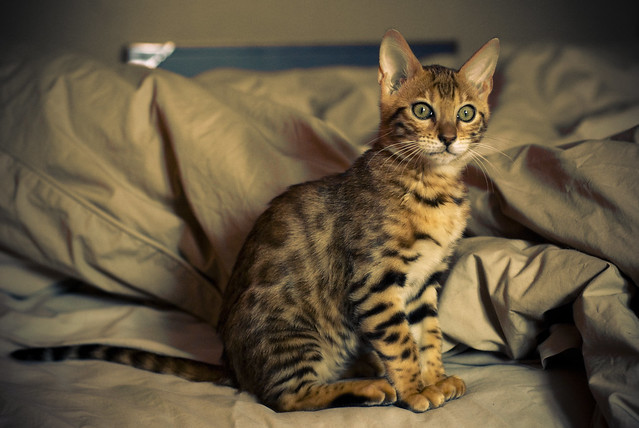
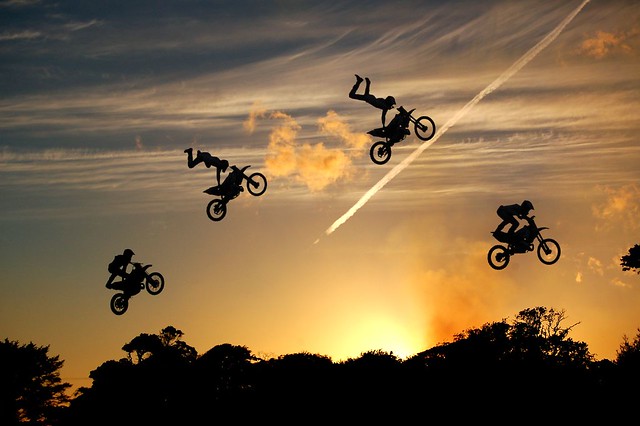
Photo by seanmcgrath
Digital storage Get a camera with a robust storage chip, and buy the largest chips you can afford. They’re very reasonable on eBay, and they last a long time if you take care of them. Buy SEVERAL, too. It’s the old thing about having all your eggs in one basket. If you lose a chip with a whole shoot’s worth of photos, you’re sunk. I have at least 5 chips available to me on a shoot. MAKE COPIES of your photos. If you lose a precious photo of Rover wearing a straw hat for 2 seconds, you’ll likely never get another one. Store photos on CD’s or DVD’s for safe keeping because sooner or later, all hard drives crash.
Where to get a camera If you can’t afford a new camera, you can easily buy stuff one on eBay, but you should thoroughly research the various cameras before you buy. Find out what the new price is and bid accordingly. Remember to check shipping fees. You can get the older digital Canon Rebel, with a lens, for a good price new. You might even find a superb deal, such as someone who used it very little and also has extra lens, memory chips, case, stuff like that. Watch the seller's feedback though. Remember that although last years top seller might be this year’s closeout, it’s still a good camera.
You can also find deals at yard sales and thrift shops, but be careful. If you don’t what to buy, don’t buy it. You don’t need a top model camera. In fact, it’s better to one that is light weigh, and since pet photography is very active work, cameras can be bumped or even dropped. It’s more important to have a great lens than an expensive camera. And one other thing, if you plan to do it professionally, get a backup body and lens, plus a backup battery.
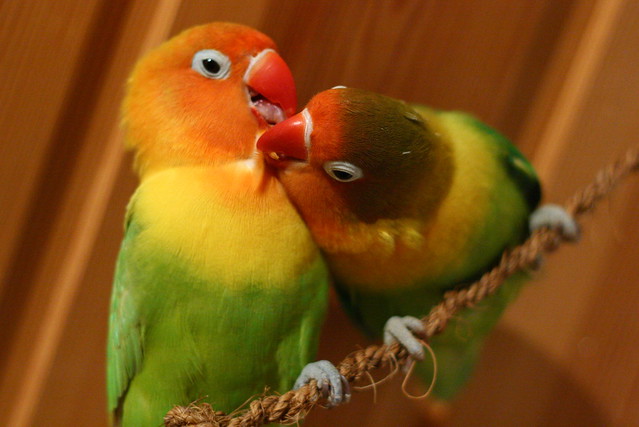
Photo by BékiPe
Lights
Photography is all about lighting; good lighting makes good photos. So, if you want to photograph a pet indoors, you will at the very least need a flash that “bounces” off the ceiling. This avoids the “cat’s eye” situation, where the animal’s eyes glow like monster eyes. This happens because the light from a standard on-camera flash bounces directly off the retina of the pet’s eyes, back to the lens. Professional photographers use lights that shine on the subject from an angle, usually above and off to the side of the subject. That way the “bounce” goes down, not directly into the lens and final image.
If you don’t have the means to get a professional set of lights, at least use an on-camera flash unit such as a “speedlight” by Nikon. Aim the flash up to the ceiling so the flash bounces back to the subject at an angle. Better yet, use a specially designed, coiled, flash cable and hold the flash unit away from the camera, above, off to the side, or both so the light bounces off the pet’s eyes at an angle.
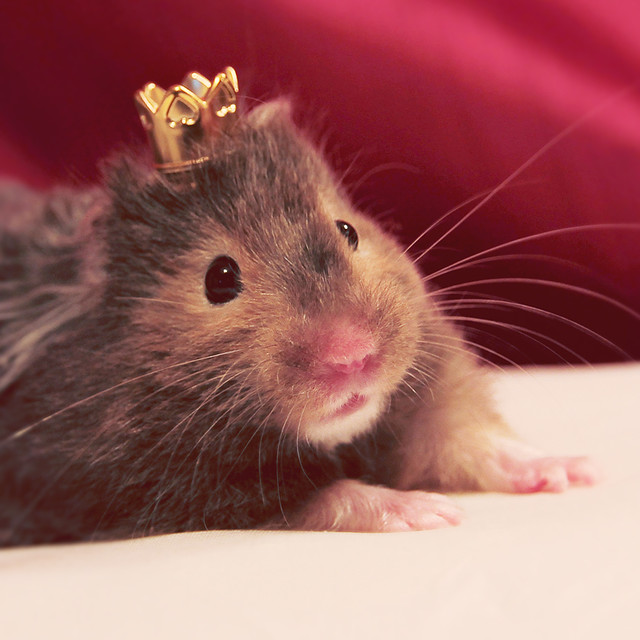
Photo by Shandi-Lee
The best setup is as follows; mount two flash units on stands about 6 feet high, several feet off to each side of the camera. Set up at least one light aimed at the background. The background light should be low and out of view, or it can be put up high if you have a studio. Then, trigger those auxiliary flash units in one of several ways. Use either a cable from camera to flash, a wireless trigger, or use the on camera flash unit to “trigger” the other flashes by a light sensitive switch, also known as a “slave” flash sensor. Most modern flash units have one built in.
Photographers often use what’s called a “slave” flash. It's a light that can screw into a normal bulb socket that has a sensor in it for other flashes. When the camera flash goes off, it fires the slave flash. You should have 2, one on each side of your camera, a few feet to the side and about 6 feet high. If you can't buy 2, get
one and put it behind the camera, about 6 or 7 feet high. Slave flashes are
not terribly expensive and they last a long time. When they fire they will
tend to make a shadow behind the subject. That's why you put them up high, so
the shadow is short and below the viewing angle. It also helps to have a
darker background.
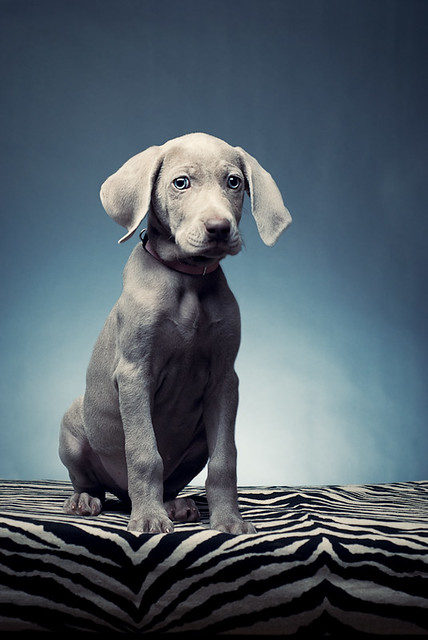
Photo by ryantron.
Photographic strobe lights are measured in “watt seconds”. The higher the number, the brighter the light. You also need to consider the time it takes for the light to charge back up for another shot. That’s called the “recycle” time. If you want to shoot fast, you need to have a fast recycle time. Most lights recycle within a few seconds, so that’s not much of an issue. The Watt-second rating is important, however. The brightest flash units usually have several settings so you can tone them down. If you shoot at 100 film speed ( best ) you need some bright lights. I recommend at least 200 watt seconds on each of the 2 main lights, preferably more. Since the background lights sometimes have colored “gels” on them that dims the output, those should be strong, too, at least 300 watt seconds if you plan to shoot through gels onto a dark background. For a white background with no gels, you can get by with a 100 watt second slave flash.
Where to get good lights These days it’s almost a sure bet that you’ll get the best deal online, but you should do your research. You can try eBay, but lights are bulky and sometimes heavy and can cost a lot to ship. Buy new if you can afford it. If you can’t, get at least one matching pair of lights and stands for placing in front of the subject. Then, buy a small “slave” flash for the background light.
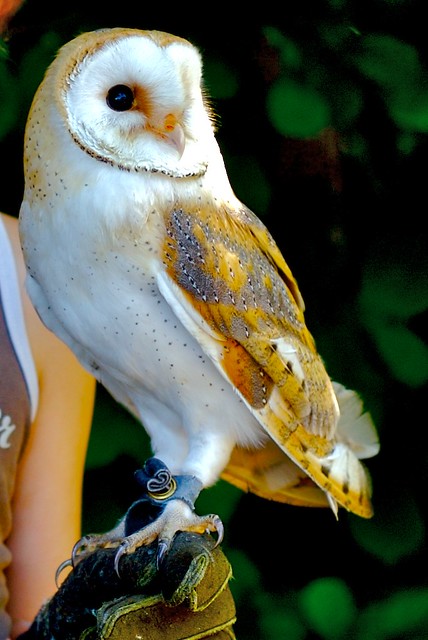
Photo by Bert Heymans
When you get the money, buy a second matched set with short stands for the background lighting. Finally, if you have a studio, buy a “softbox” for above the subject.
It’s common and highly recommended that your main lights have “umbrellas” on them. There are two kinds. One is a “shoot through” transparent white umbrella that softens the light and distributes it more evenly. The other is a reflector, with black outside and shiny silver inside. You “bounce” the strobe light into it, and it can make a very bright flash.
Technique
Ultimately, only what's actually IN the photo matters, so with careful framing you can create the image you want. Although you can crop a photo later, it's best to "crop" while shooting. This means taking an extra few seconds to check the image before firing the shutter. Leave out everything that's not necessary, and use geometry to good effect.
Move with the pet, if necessary, and take lots of shots. When using a digital camera, there’s no excuse for not taking those extra shots. Sometimes a shot you “grab” will be a real winner. You can always edit the photo later if you must.
Try a number of angles and poses. It’s nice for the customer to have some variety and gives you more chance to sell if that is your objective.
You know what’s interesting about a good pet picture? The expression. People love to look into the eyes of their beloved pets, so get good expressions, and get in close. It makes the viewer feel close to the animal. Make sure you get some good close-ups and some “head shots”. Then, get some of the pet’s funny side. Try to capture its unique personality.

Photo by Mustafa Khayat
Where to “shoot” your pets
Outdoor photos
Outdoor pet photos are very nice, but there are a number of things to keep in mind. Many pets will run away fast, so you might have to keep them on a leash or have the owner hold them. In addition, outdoor lighting can change frequently because of clouds. The best time for outdoor photos is before 11 a.m. and after 2 p.m. It’s best to have the angle of the sun lower, around 45 degrees, if possible, and behind the camera. As long as it’s behind the camera, it’s okay for it to be off to one side.
If you want the pet to be in a shady area, such as under a tree, it’s best to use what’s called “fill flash”. That can be the on-camera flash or another off-camera flash. It’s also possible to use a reflector. This is a large piece of reflective material that an assistant can use to aim reflected light into the shaded area.
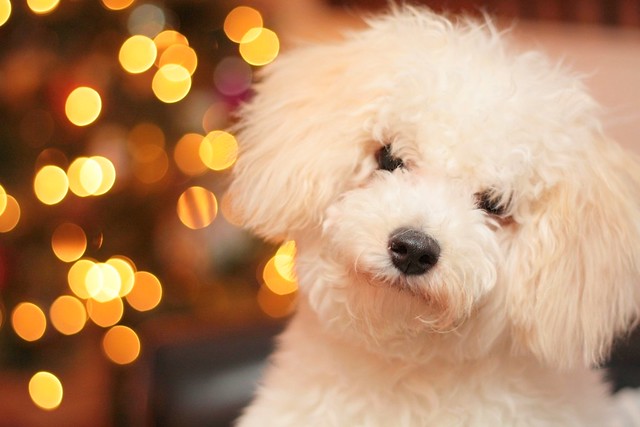
Photo by trazomfreak
Indoor studio In a studio you have time and control working in your favor, and the animal can’t run out of range. A studio does not need to be complicated. Your "studio" can be in a garage, basement, or room in your house. You need about 10 feet by 10 feet minimum, but 12 by 12 feet is much better. You need your background supports and crossbar. Keep all your cords out of the way as much as possible for safety. In a studio you can have people come one at a time or host an all day pet photo shoot.
Running a large pet photo shoot can be a lot of fun for all participants but you need to plan it well in advance and be completely ready for it when it starts. You can pick a place such as a side room in a school, church, business, or similar location. Sometimes, to get publicity, you can do one at a flea market. If you do a flea market, it's much different than a studio. At a flea market, it's more difficult. You are better off just having a basic system and doing a few shots for a modest price. Then, hand out cards and show some samples of what you can do in a studio. I have a lot of fun props that I can use but I don't take them all to large photo shoots. I might take a few.
If you do a large photo shoot, keep some things simple, such as the camera and light settings. You will have enough on your hands dealing with the subject.
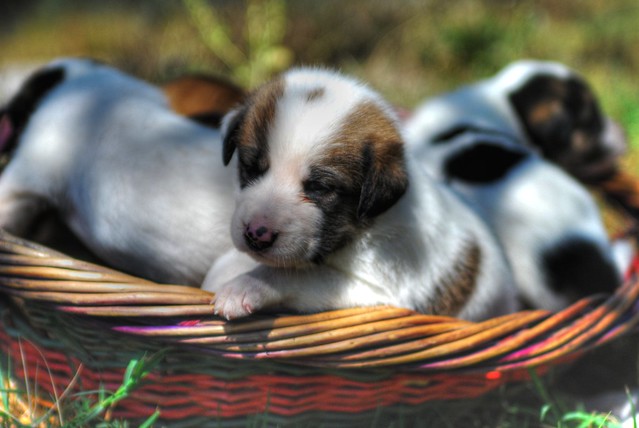
Photo by francesco sgroi
Backgrounds
A bad background can ruin a picture. Professional photographers go to great lengths to set up backgrounds for their photos, so they usually have a number of backgrounds in their studio. In addition, they may also have a number of colored lights, or “gels”, to color the background in a way that suits the subject. If you don’t have a background, you can effectively use a common sheet if you mount it in such a way that it shows no wrinkles. One simple way to do this is to pin a sheet to a wall in a home. You can even use a blank white wall if you wish. To make the subject stand out from the background you need to have good contrast. For example, black or dark blue is very nice for light colored or medium colored pets. Black dogs and cats, however, are best put in front of a lighter background.
Backgrounds are easy and cheap. In the beginning I used old sheets, stretched tight with small clamps. Make a little stand about 8 feet high ( use a king size sheet ) It's good to have several. White is always popular and you
need light colors for dark colored pets. A grey or black one is also good. I also use blue quite often. When you get more money, get another flash unit to light up the background. You put it way down low and aim it up. Keep it
behind your posing table so you can't see it.
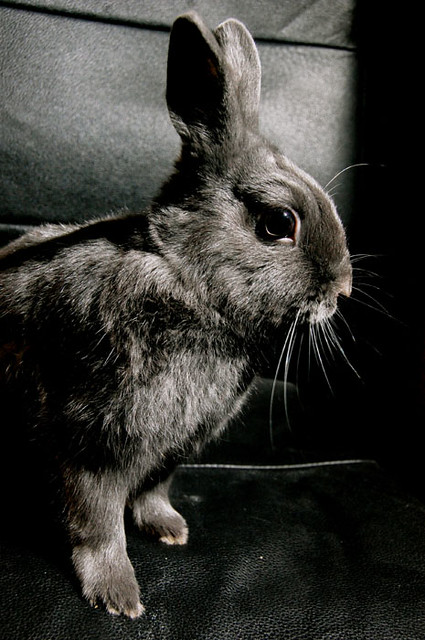
Photo by MangakaMaiden Photography
Most pros use a background light as well. The background light is set off to the side, below, or above, and aimed at the background. By setting the background light carefully, you can put a spot of light just behind the subject. This helps enhance the contrast ratio and offsets the subject from the background. If you use a neutral background, such as grey, you can put colored “gels”, or transparent colored plastic, over the background light. This enables you to put just about any color on the background.
To avoid shadow on the background when using a flash, either have a good background light to offset the main lights, or have the main lights up quite high. That way the shadow is short and out of the picture. Also, keep the subject about 3 feet away from the background.

Photo by Vivatier
Props and costumes
Interesting costumes can greatly enhance a portrait and increase its value, since it will be a rare photo of the subject. Be creative. Every outfit is a costume from another's point of view. Sometimes all you need is a hint of a costume, such as a scarf, hat, or something in the hand. If you plan to use props, have everything you need close at hand.
For stock photographers, funny pet photos are great for cards, and nothing looks sillier than a dog wearing clothes and a hat. Now, there aren’t a lot of pets that like to wear silly clothes, so don’t expect they’ll like wearing the funny outfit you have in mind for them. You will likely need an assistant. I once photographed a dog in a Bah Mitzvah outfit. Go figure….!
How to get the pets ready for a photo shoot
Pets can be very temperamental, shy, nervous, or even angry when you try to photograph them. Bright flashes can terrify a pet and their instinct is to run to their owner, or simply away, as fast as they can. Since they can’t talk to you, you must pay close attention to their mannerisms and sounds.
The main thing is to get them to relax. To calm them, touch them gently and make soothing sounds. Make your sounds upbeat and kind. Contrary as it may seem, it’s not always helpful to have the owner within sight. Pets usually try to get the owner to “save” them from their predicament, and that makes things very difficult for the photographer.
It’s a good idea to have the dogs take a little bathroom break before the shoot.
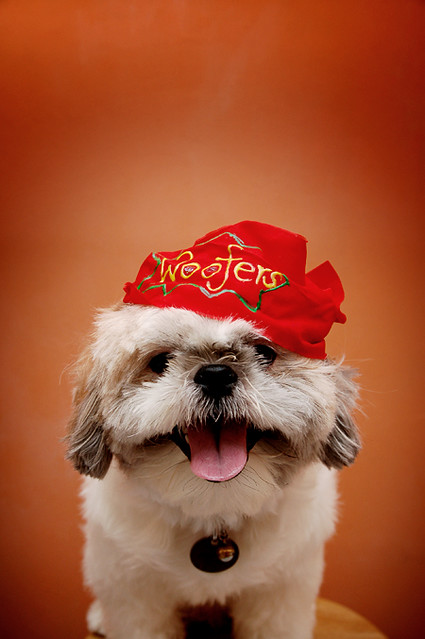
Photo by Shermeee
Dogs
Dogs are fun to photograph.
I often get asked, "How do you make the dog stay in one place?" Actually, they usually DON'T stay still. The fast shutter speed just makes it APPEAR that they were sitting still! It can take a lot of shots to get a few good ones, sometimes. To photograph dogs properly, you need to understand dog behavior. Dogs don't really understand human language. If you want to communicate with a dog, it's much more effective to do it on it's own terms. Sounds ( other than words ), and especially TOUCH, works well. Body language, both yours and the dogs, is also very important.
Dogs tend to be curious about the camera and photographer and they move around a lot. Have a friend distract the pooch, or use a toy. Try to work without the dog noticing you. If you have a long telephoto, at least 100mm, you can step back a ways and get good shots. This will also help keep the background out of focus and keep the attention on the dog. Work quickly, and take lots of shots. It you try to bribe the dog with food, it may backfire. Once the dog knows you have treats it will keep "bugging" you. I usually just get all the shots, and then give a treat.
Photo by astrogrl
Formal posing
When I do a formal portrait session with a dog, I always try to have an assistant. Few dogs will sit still, and even if they do, they'll rarely have the ideal expression. I get totally involved and focus on the dog's expression. The camera shutter makes it APPEAR that the dog was sitting still. Props can add a lot of interest and fun to the photo. Use a whistle and make sounds to get the dog's ears to perk up. Get in close to your subject ! It makes a big difference.....
One more thing:
Dogs don't really understand people language very well. They do understand Body Language quite well, so you have to keep putting them into the position you want them. Be persistent, and eventually the dog will get the message: SIT STILL!
Cats

Photo by kelp1966
Rule number 1, be careful! Horses can move very fast and without warning.
They are NOT thinking of your safety, either.
Horses are often jittery and suspicious by nature, so you have to respect that and work accordingly. Move slowly and predictably, and stay in eye contact, if possible. If you wish to get close, touch the horse, perhaps on the neck near its shoulder. Be gentle and make comforting sounds. Offer some food. They love that, but watch your fingers! Keep them TOGETHER!
Using a long lens is very effective. Most photos are done outdoors, so light is not usually a problem. Between around 11 a.m. and 2 p.m. the sun is harsh, so use the morning or afternoon. You do not usually need a shutter speed faster than about 1/250. You can get interesting effects by using a tripod and speeds from 1/8 to 1/30. Just remember that the longer the lens or zoom, the faster the shutter speed needs to be to keep it from blurring.
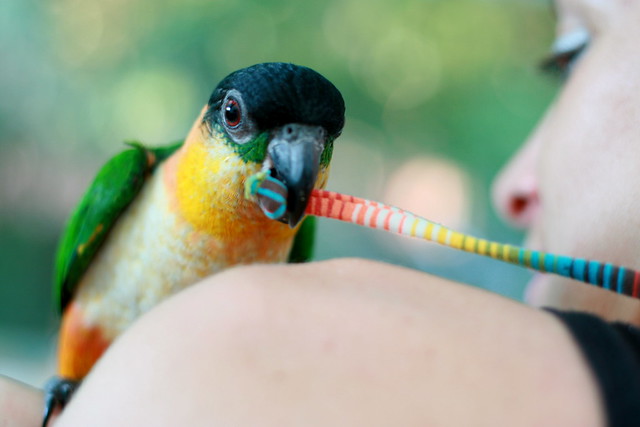
Birds
Larger pet birds usually sit relatively still on their birch, but I’ve had one or two fly around my studio, especially parakeets. Take a lot of shots so you have a good selection of expressions. Cockatoos look especially nice with their top feathers extended. Some birds like toys, and photos of them playing are fun.

Photo by Derek Purdy
Other pets
Some people have the oddest pets, such as pigs, porcupines, and snakes. For mammals, most of these suggestions apply. Reptiles don’t have much of a personality, so a close up is often very effective. It gives a sense on intimacy with a creature that, to tell the truth, just isn’t that way. ( for example, snakes and lizards )